Candle Care 101: How to Make Your Candles Last Longer and Smell Better
You finally found a candle you love — the scent is perfect, the jar looks beautiful on your shelf, and the first time you light it, your whole room fills with fragrance. But a few burns later, something’s off. There’s a tunnel forming down the center. The wick is mushrooming. The scent throw isn’t what it used to be.
Sound familiar? You’re not alone. Most candle lovers don’t realize that how you burn a candle matters just as much as the candle itself. The good news is that proper candle care is simple — and it can dramatically extend your candle’s life while keeping its scent throw strong from the first burn to the last.
Whether you’re new to premium candles or you’ve been burning them for years, this complete candle care guide will help you get every last hour (and every last whiff) out of your investment.
Why Candle Care Matters More Than You Think
A high-quality candle is designed to burn evenly, throw scent consistently, and last for a specific number of hours. But without basic care, even the best candle in the world won’t perform the way it should.
Think of it like buying a nice pair of leather boots. They’ll last decades if you care for them — or fall apart in a year if you don’t. Candles are no different.
Proper candle care helps you:
- Maximize burn time — get every hour you paid for (and then some)
- Maintain strong scent throw — keep your rooms smelling amazing burn after burn
- Prevent tunneling — no more wasted wax stuck to the sides of the jar
- Reduce soot and smoke — cleaner air and cleaner walls
- Keep your home safer — well-maintained candles are safer candles
Our handcrafted candles at A Cheerful Giver are built to deliver exceptional performance, but these tips will help you enjoy them even more.
The First Burn: The Most Important Burn of All
Here’s the number one candle care mistake people make: they don’t burn their candle long enough the first time.
Candle wax has what experts call a "burn memory." The first time you light a candle, the wax melts outward from the wick in a pool. Wherever that melt pool stops, that’s about as far as the wax will ever melt on subsequent burns.
So if you light your new candle for just 30 minutes and blow it out, you’ve essentially "programmed" a tunnel into the wax. From that point on, the candle will burn straight down through the center, leaving a thick ring of unmelted wax around the edges. That’s wasted fragrance and wasted money.
The Rule of Thumb
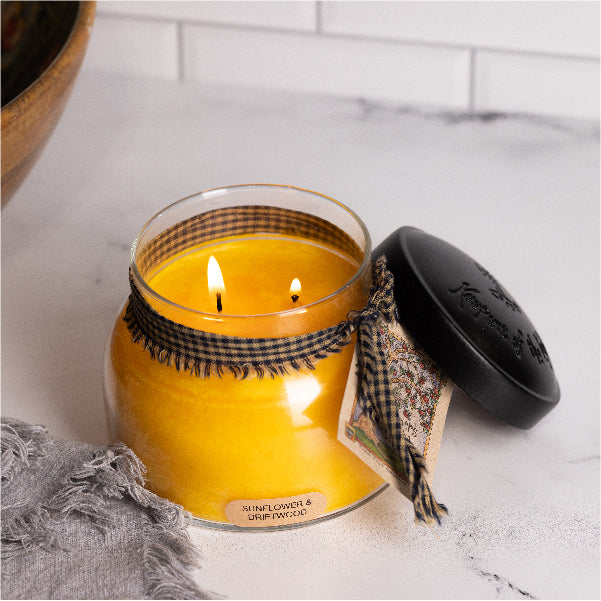
Let your candle burn for approximately one hour per inch of its diameter on the very first lighting. For a standard jar candle, that’s usually 3-4 hours. For larger candles like our 34 oz Papa Candles, which feature a wide jar and double wicks, you’ll want to ensure the entire top surface is liquid wax before extinguishing.
This single habit will prevent tunneling and ensure you get the maximum burn time and scent throw from your candle.
How to Trim Your Candle Wick (And Why It’s Essential)
If there’s a second commandment of candle care, it’s this: trim your wick before every single burn.
The ideal wick length is approximately 1/4 inch (about 6mm). Before you light your candle — every time — check the wick and trim it if it’s longer than that.
Why Trimming Matters
- Controls the flame size — an untrimmed wick produces a flame that’s too large, which burns through wax too quickly
- Reduces soot — a long wick creates a larger, flickering flame that produces black soot
- Prevents mushrooming — that bulbous carbon buildup at the tip of the wick that looks like a tiny mushroom
- Extends burn time — a properly trimmed wick burns slower and more evenly
- Improves scent throw — a controlled flame creates the ideal melt pool temperature for releasing fragrance
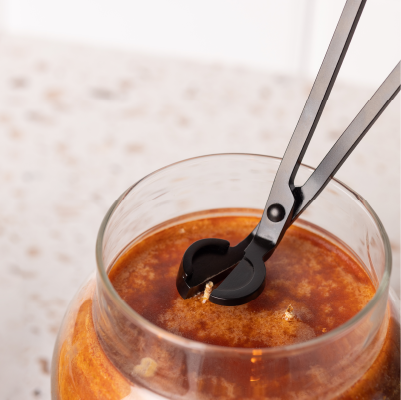
How to Trim
You can use a dedicated wick trimmer (which makes reaching into deep jars easier), small scissors, or even nail clippers in a pinch. Just make sure the candle is completely cool and the wax is solid before trimming. Remove the trimmed wick debris from the wax pool — you don’t want anything floating in there.
Check out our candle accessories collection for tools that make candle maintenance effortless.
How Long Should You Burn a Candle at a Time?
We covered the minimum burn time (long enough for a full melt pool), but there’s also a maximum you should keep in mind.
Most candle experts recommend burning for no more than 4 hours at a stretch. After that, the wick can start to "mushroom," the jar can get too hot, and the candle may begin producing more soot than necessary.
Here’s a simple guideline:
- Minimum: 1 hour per inch of diameter (to prevent tunneling)
- Maximum: 4 hours per session
- Between burns: Allow the candle to cool completely and the wax to solidify before relighting
This rhythm — light, enjoy for a few hours, extinguish, cool, trim, repeat — is the formula for getting the absolute most out of every candle you own.
Where You Place Your Candle Changes Everything
Candle placement isn’t just about aesthetics (though that matters too). Where you position your candle in a room directly affects how well it burns and how far its scent travels.
Avoid Drafts
Burning a candle near an open window, a fan, an air vent, or a high-traffic doorway causes the flame to flicker and dance. This might look pretty, but it creates problems:
- Uneven burning and tunneling on one side
- Increased soot production
- Faster wax consumption
- Potential safety concerns from an unstable flame
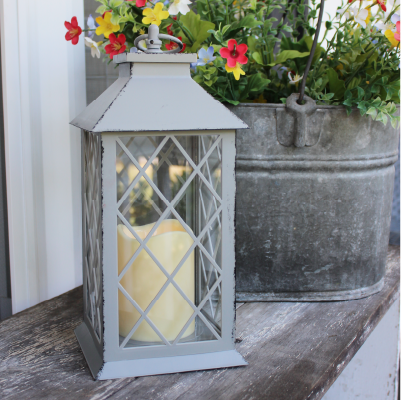
Choose a Level, Heat-Safe Surface
Always place candles on a flat, stable, heat-resistant surface. Even jar candles can get hot on the bottom toward the end of their life. A candle plate, coaster, or tray provides an extra layer of protection for your furniture.
For Maximum Scent Throw
Place your candle in the center of the room you want to scent rather than tucked in a corner. Heat from the flame creates air convection that naturally circulates the fragrance. A centrally-placed candle on a coffee table or kitchen island will scent a room much more effectively than one on a windowsill.
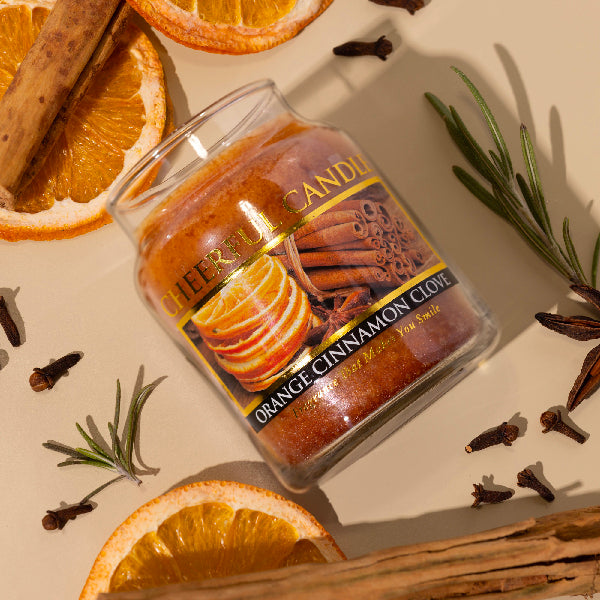
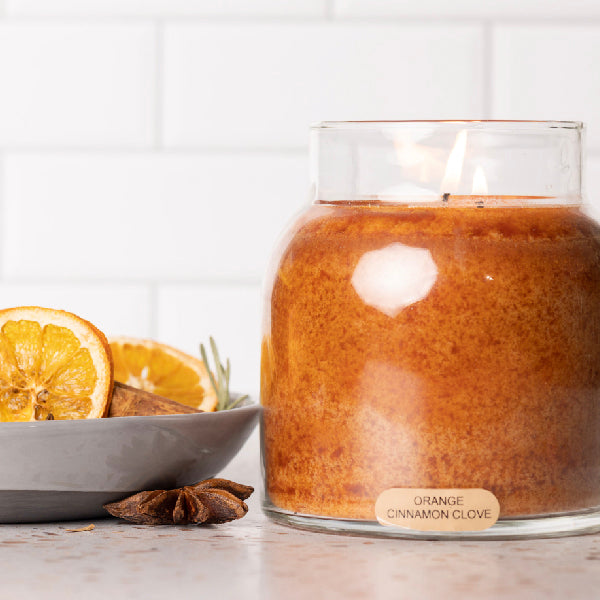
For large open-concept spaces, consider using multiple candles or choosing a larger candle with a stronger scent throw. Our Cranberry Orange Papa Candle and Orange Cinnamon Clove Papa Candle are customer favorites specifically for their ability to fill even the biggest rooms.
How to Fix a Tunneled Candle
Already made the first-burn mistake? Don’t toss that candle — there are ways to fix it.
The Aluminum Foil Method
- Light your tunneled candle
- Wrap a piece of aluminum foil around the top of the jar, leaving a small opening in the center for airflow
- The foil reflects heat back toward the wax walls, melting the tunnel edges
- Let it burn for 2-3 hours until the surface is completely even
- Remove the foil (carefully — it will be hot!) and let the candle cool
The Hair Dryer Method
For mild tunneling, you can use a hair dryer on high heat to melt the top surface of the wax until it’s level. Blow the hot air across the top of the candle (with the candle unlit) until the wax smooths out, then let it re-solidify before lighting.
Prevention is always better than cure, though. Master that first burn and you’ll rarely need these rescue techniques.
What to Do When Your Candle Gets Low
As your candle burns down toward the bottom of the jar, you’ll notice a few changes. The flame might seem larger, the jar gets hotter, and the scent might intensify.
Stop burning your candle when there’s about 1/2 inch of wax remaining. Burning past this point can cause the jar to overheat, which can crack the glass or damage the surface it’s sitting on.
Repurpose the Jar
Once your candle is done, don’t throw away the jar! To remove remaining wax:
- Place the jar in the freezer for a few hours — the wax will contract and pop right out
- Wash the jar with warm, soapy water
- Use it for storage, a plant pot, a pencil holder, or a new candle vessel
Our candle jars are designed to look beautiful even after the candle is gone — because a good jar deserves a second life.
Candle Storage: Keeping Unused Candles Fresh
If you’re a candle collector (and we don’t blame you), you probably have a stash of candles waiting for their moment. Here’s how to keep them at their best:
- Store in a cool, dry place — heat and humidity can affect wax quality and fragrance potency
- Keep lids on — exposure to air gradually diminishes the cold throw (the scent you smell when the candle isn’t lit)
- Avoid direct sunlight — UV light can fade dyed wax and break down fragrance oils
- Store upright — this seems obvious, but it prevents warping and wick displacement
- Use within 12-18 months — candles don’t "expire," but they perform best when relatively fresh
This is especially important for premium candles with complex fragrance profiles. You want every note — top, middle, and base — to come through exactly as the chandler intended.
Why the Type of Wax Matters for Candle Care
Not all candles require the exact same care. The type of wax affects burn behavior, and understanding your candle’s wax type helps you care for it properly.
Paraffin wax candles (like ours at A Cheerful Giver) are prized for their exceptional scent throw and smooth, even burn. Paraffin holds more fragrance oil than other wax types and releases it more effectively when heated, which is why paraffin candles consistently outperform soy alternatives in scent throw tests.
Paraffin wax also has excellent burn memory, which means that first-burn technique we discussed earlier is particularly effective. Follow the care tips in this guide, and a quality paraffin candle will reward you with room-filling fragrance for 150+ hours of burn time.
Candle Safety Reminders
No candle care guide would be complete without a quick safety refresher. These aren’t just suggestions — they’re essentials:
- Never leave a burning candle unattended
- Keep candles away from children and pets
- Don’t burn a candle on or near anything flammable — curtains, books, paper, decorations
- Keep the wax pool free of debris — wick trimmings, matches, or decorative elements
- Don’t move a burning candle — the melted wax can splash and the jar is hot
- Use a snuffer or lid to extinguish — blowing out a candle can spray hot wax and create more soot
- Place on a heat-resistant surface and ensure adequate ventilation
Your Candle Care Checklist
Here’s a quick-reference summary you can bookmark and come back to:
- First burn: Let the entire surface melt to the edges (1 hour per inch of diameter)
- Trim the wick: To 1/4 inch before every burn
- Burn time: Minimum until full melt pool, maximum 4 hours
- Placement: Flat surface, away from drafts, center of room for best scent
- Stop burning: When 1/2 inch of wax remains
- Storage: Cool, dry, covered, out of sunlight
- Safety: Never unattended, away from flammables, keep wax pool clean
Get More From Every Candle You Burn
Taking care of your candles isn’t complicated. A few simple habits — that first full melt pool, regular wick trimming, mindful placement — make the difference between a candle that disappoints and one that fills your home with fragrance for months.
At A Cheerful Giver, we’ve been crafting candles in the USA since 1991. Every candle we make is designed to deliver maximum scent throw and burn time, using premium paraffin wax and carefully selected fragrance blends. When you pair our craftsmanship with proper candle care, you get an experience that’s hard to beat.
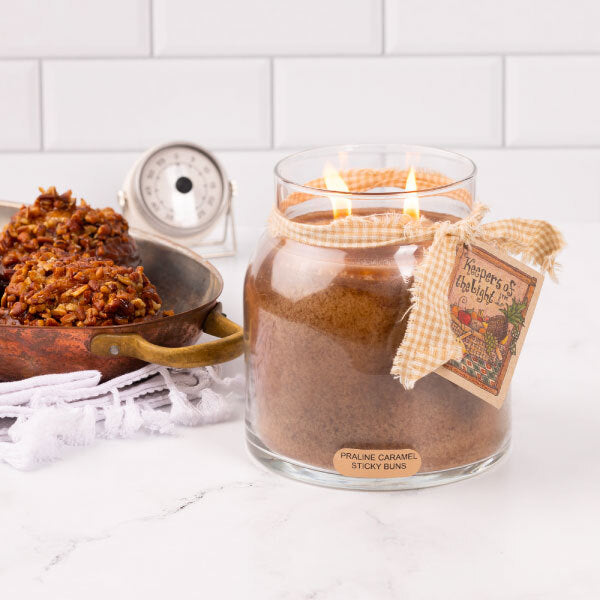
Ready to put these tips into practice? Browse our full candle collection and find your next favorite scent. From warm bakery fragrances like Praline Caramel Sticky Buns to fresh picks like Lemon Butter Pound Cake, there’s a candle for every room and every mood.
Have a candle care question we didn’t cover? Reach out to us — we love talking candles.